Table of Contents
Introduction
a sun-soaked afternoon, laughter filling the air, and a scoop of your favorite homemade ice cream melting in your hand. The joy of homemade ice cream is unmatched, offering a delightful escape from the heat. Whether you’re hosting a backyard barbecue or just indulging on a quiet evening, nothing beats the satisfaction of crafting your own frozen treat.
- History of Ice Cream: Ice cream has a rich history that dates back thousands of years. Ancient civilizations enjoyed frozen desserts made from snow and ice mixed with honey and fruit. The first recorded recipe for ice cream appeared in a 1665 book by Sir Hans Sloane, but it was the invention of the ice cream maker in the 19th century that revolutionized its production. Today, ice cream is a staple dessert around the world, with countless flavors and variations.
- Why Homemade Ice Cream: Making ice cream at home allows you to control the ingredients, ensuring a healthier, more flavorful product. You can customize your flavors to suit your preferences or dietary restrictions. Plus, nothing beats the satisfaction of creating a delicious treat from scratch, knowing exactly what’s in it.
Why Make Ice Cream at Home?

- Health Benefits: By making ice cream at home, you can avoid preservatives, artificial flavors, and excess sugar often found in store-bought versions. You can substitute heavy cream with healthier alternatives like coconut milk or yogurt, making it suitable for various dietary needs. For those who are lactose intolerant or vegan, using plant-based milks ensures that everyone can enjoy a scoop (or two).
- Cost-Effectiveness: Ice cream can be expensive, especially gourmet varieties. Making it at home can save you money, especially if you frequently indulge in this frozen delight. With just a few basic ingredients, you can make a large batch at a fraction of the cost. Consider the savings over time and the joy of sharing with friends and family.
- Customization: Homemade ice cream lets you experiment with flavors, mix-ins, and textures. Whether you prefer classic vanilla or adventurous flavors like lavender honey, the possibilities are endless. You can tailor the sweetness level, add more fruit, or even incorporate spices like cinnamon or cardamom for a unique twist.
Essential Equipment

- Ice Cream Maker: While traditional ice cream makers are popular, modern machines can churn ice cream in as little as 20-30 minutes. These machines come with various features, such as built-in freezers or automatic timers, making the process even more convenient. If you don’t own one, don’t worry! There are also no-churn methods that yield equally delicious results, allowing anyone to enjoy homemade ice cream.
- No-Churn Methods: For those without an ice cream maker, you can simply whip heavy cream until stiff peaks form, fold in sweetened condensed milk, and add your flavorings. Freeze the mixture for several hours, and you’ll have a creamy treat. This method requires no special equipment and can be done in less than 15 minutes, making it perfect for spontaneous cravings.
- Other Tools: Essential tools include mixing bowls, spatulas, a whisk, and airtight containers for storage. Investing in quality tools can make the process smoother and more enjoyable. A good whisk and spatula will help you achieve the perfect consistency, while airtight containers will keep your ice cream fresh longer.
Base Recipe: Classic Vanilla Ice Cream

- Ingredients:
- 2 cups heavy cream
- 1 cup whole milk
- 3/4 cup granulated sugar
- 1 tablespoon pure vanilla extract
- Pinch of salt
- Instructions:
- Whisk together heavy cream, whole milk, sugar, vanilla extract, and salt in a mixing bowl until the sugar dissolves completely. Make sure to use a good-quality vanilla extract for the best flavor.
- Pour the mixture into the ice cream maker and churn according to the manufacturer’s instructions (usually about 20-30 minutes). The mixture should double in volume and become fluffy.
- Once the ice cream reaches a soft-serve consistency, transfer it to an airtight container and freeze for at least 4 hours to harden. This allows the flavors to meld and the texture to firm up.
Flavor Variations

- Chocolate Ice Cream: To make chocolate ice cream, simply add 1 cup of cocoa powder or melted dark chocolate to the base recipe for a rich, chocolaty flavor. You can also swirl in chocolate syrup or fudge for extra decadence.
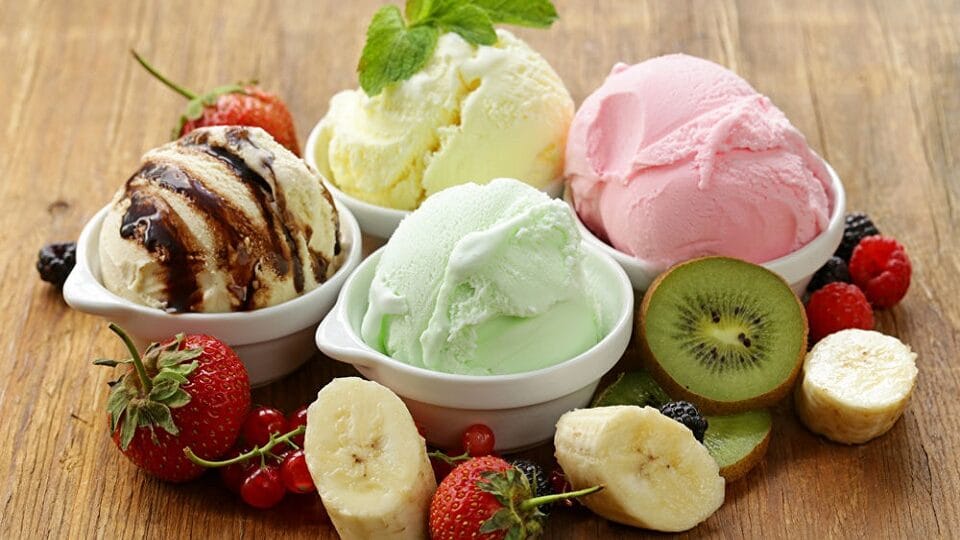
- Fruit Flavors: Incorporate fresh or pureed fruits like strawberries, mangoes, or peaches into the base before churning. This not only adds flavor but also gives a beautiful color. Strain the pureed fruit to remove seeds or pulp for a smooth texture.
- Unique Flavors: For those looking to venture beyond the ordinary, consider experimenting with flavors like lavender-infused ice cream, matcha green tea, or even spicy chili chocolate for a kick. Use high-quality extracts or fresh herbs to enhance the flavor profile.
Add-Ins and Mix-Ins
- Popular Choices: Chocolate chips, crushed cookies, nuts, and dried fruits are popular choices for add-ins. These not only enhance the flavor but also add texture to the ice cream. You can mix in the add-ins during the last few minutes of churning for even distribution.
- Creative Combinations: Combine flavors like peanut butter and chocolate or coconut and pineapple for a tropical twist. The key is to balance flavors and textures for an unforgettable experience. Don’t hesitate to get creative—add a swirl of caramel or a sprinkle of sea salt on top!
Serving Suggestions
- Creative Cones and Bowls: Serve your ice cream in waffle cones, sugar cones, or even in a hollowed-out fruit like a pineapple or coconut shell for a fun presentation. Consider decorating your cones with melted chocolate and sprinkles before adding the ice cream.
- Toppings: Elevate your ice cream with toppings like homemade chocolate sauce, fresh berries, crushed cookies, or a sprinkle of sea salt for an added depth of flavor. You can also create a sundae bar with various toppings for guests to customize their own treats.
Storage Tips
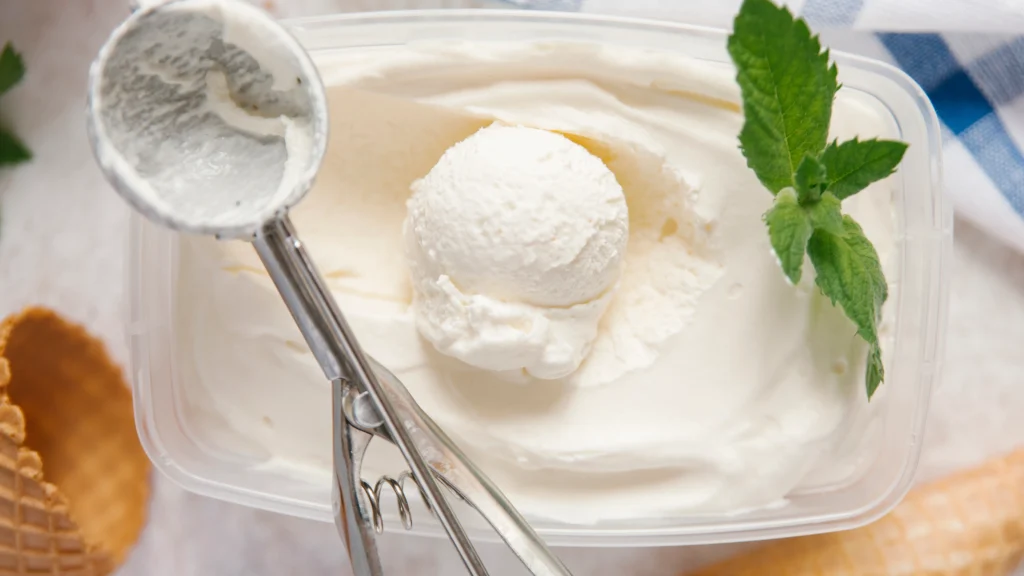
- Best Practices: Store homemade ice cream in an airtight container to prevent freezer burn. Placing a piece of parchment paper directly on the surface of the ice cream can help maintain its texture. Make sure to seal the container tightly to lock in freshness.
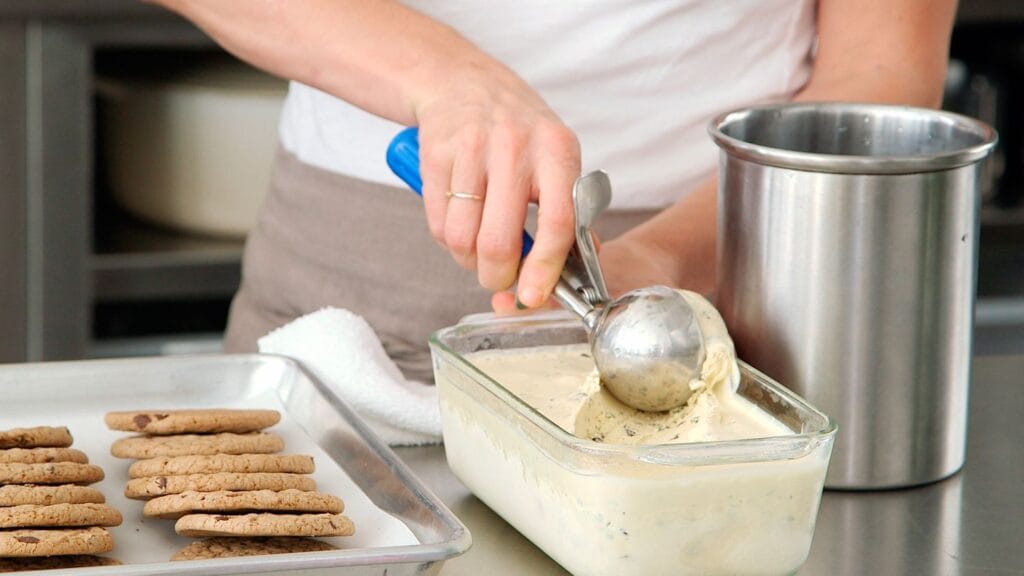
- Defrosting Tips: Allow the ice cream to sit at room temperature for about 10 minutes before scooping. This will make it easier to serve and enhance the overall experience. Use a warm scoop or spoon to help glide through the ice cream smoothly.
Sweet Solutions: Easy Dessert Recipes for the College Kitchen
Conclusion
- Homemade ice cream is a delightful way to celebrate summer and indulge your taste buds. Encourage readers to try new flavors and mix-ins and share their experiences. Invite them to get creative and enjoy the process of making this classic treat together with family and friends.
